|
WICKS TO FIT THE HEATERS LISTED BELOW - AND MORE!
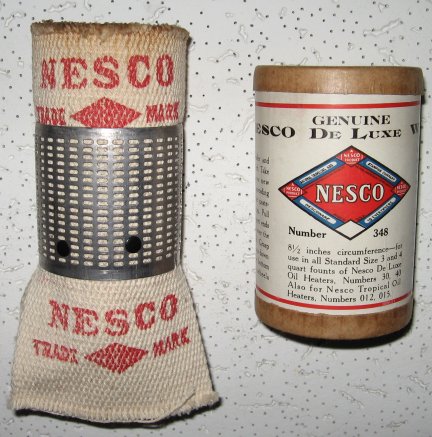
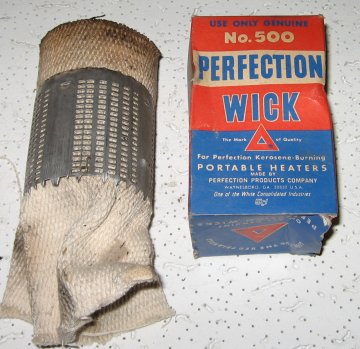
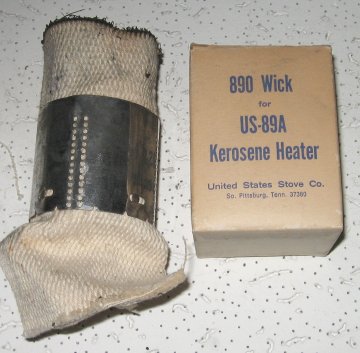
Unique Specialty wicks
|
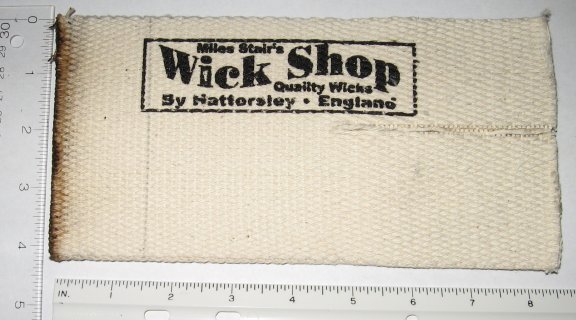
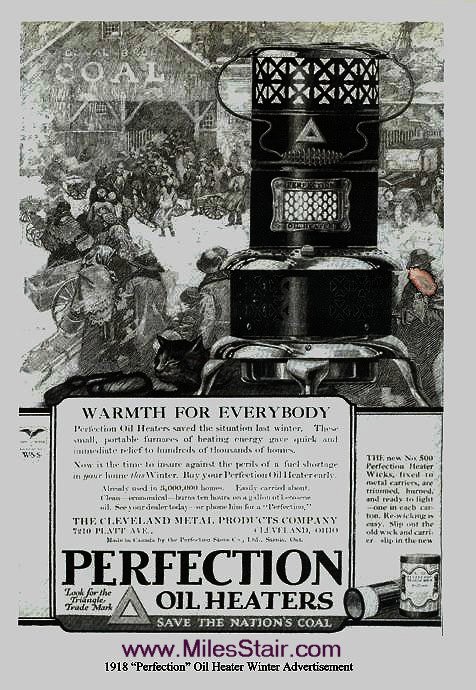
World's Largest Selection of Wicks! World's Largest Seller of Perfection Wicks!!!
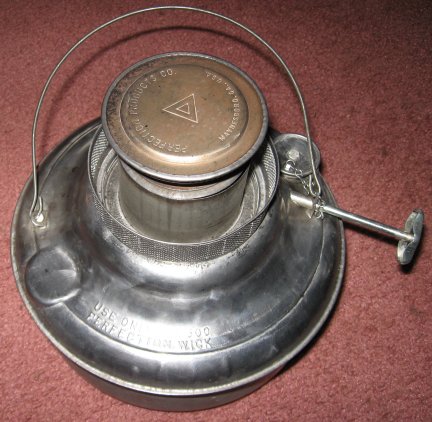
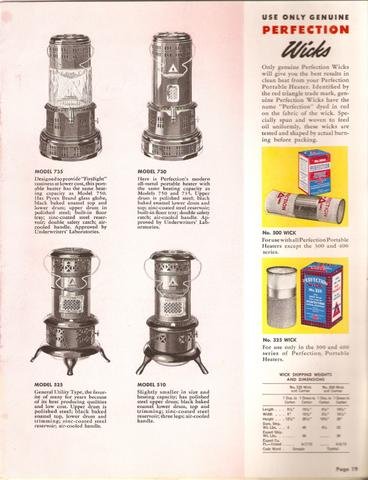
(Above, original window sign from the 1930's, used in neighborhood stores.) PERFECTION 500 HEATER WICK INSTALLATION
Site Index for all things Perfection How To Get Best Results From Your Perfection Heater History of the Perfection Stove Company Standard Oil Bulletin, June, 1914, history of Cleveland Foundary Co. (pdf) (For Perfection 300 & 400 heaters go
here.)
Perfection 500 wicks are in stock and shipped daily.
`
`
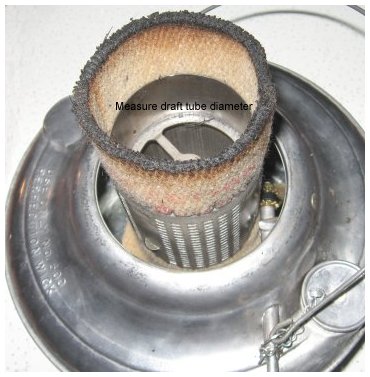
TO INSERT A NEW WICK
To Extinguish Flame Turn wick down as far as it will go. This will permit flame spreader to drop on top of wick tubes and extinguish flame. Storage Precautions When heater is not to be used for a month or longer, empty reservoir and store heater in a dry place. If there is danger of rust, steel drums should be protected with oil, or better yet, by cleaning, then polishing with a good grade of liquid auto polish.
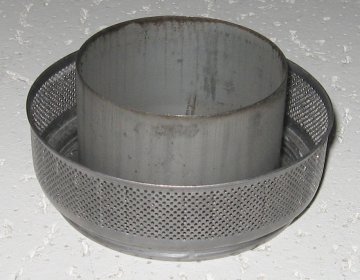
How To Get Best Results From Your Perfection Heater (Taken directly from original Perfection Instructions) 1. Keep the perforations in the gallery open. Keep the perforations in the gallery free from lint and dirt by wiping gallery every day or two. If any of the perforations become clogged, the air supply is reduced, causing the heater to smoke. 2. Keep the flame spreader clean. With a stiff brush, clean all perforations and with a knife scrape the carbon off the flange against which the wick strikes. Hold the flame spreader to the light to see that all perforations are clean and open. 3. Keep wick tubes clean. Keep the char cleaned from the top of the wick tube by wiping with a cloth. 4. Clean wick daily. If the heater is in daily use, clean the wick daily. Remove the flame spreader and raise the wick until the top portion is even with the top of the tube. Wipe loose carbon or char off the top of the wick with a cloth. Pat the remaining wick down evenly with the fingers. Do not allow reservoir to burn dry. Each time this happens, one-quarter inch of the wick is consumed. 5. Burn heater at high flame. This heater is built to burn at high flame and will not smoke if pure kerosene is used and the wick, gallery and flame spreader are clean. Simply turn wick up as far as it will go. Apply match to SIDE of wick and close heater. (Never lift the flame spreader to light top of wick.) 6. Supply plenty of fresh air. Perfection heaters burn many hundreds of gallons of air to each gallon of kerosene. When used in a bathroom or other small space, leave the door ajar two inches so that fresh air can flow in. It will be warmed as it passes up through the heater. Insufficient supply of fresh air will cause the heater to smoke. 7. Use pure kerosene. Use only a good grade of kerosene. Never mix gasoline, even a small amount, with it. It is desirable to drain the reservoir occasionally and then put in fresh kerosene. This will safeguard the reservoir and wick carrier from possible corrosion and rust. CAUTION: If used on a trailer, boat or other moving conveyance - NEVER operate this heater while in motion. A serious fire may result. SPECIAL DIRECTIONS BEFORE LIGHTING HEATER FOR THE FIRST TIME Parts of this heater have been oiled to prevent rusting. Before lighting heater for the FIRST TIME, wipe thoroughly with a cloth. Since the remaining oil will burn off, causing a disagreeable odor for ten or fifteen minutes, the heater should be placed where this odor will not be offensive. ~~~~~~~~ IF THE GALLERY CANNOT BE EASILY REMOVED Go slowly! The gallery is very thin. It cannot take much leverage. Penetrating oil, let is soak in, more penetrating oil, then freezing. Then try it. The gallery can be stuck from two reasons: old oil residue, and rust/corrosion. Penetrating oil can infiltrate the old oil residue, given time, and can break the rust/corrosion barrier, given time, but it will still be difficult to turn in the threads. Remember that metal expands and contracts with heat and cold, respectively. By placing the font/gallery assembly in a freezer at 0F, the metal will shrink and further weaken the bond binding the threads. If that doesn't free it up, then the application of heat might well do it. But brute force applied without giving any type of penetrating oil time to work will almost always result in a bent gallery. If the gallery and fount are not rusted, merely glued together from old solidified fuel residue, then boiling in detergent and hot water is the easiest way to get parts "unglued" so they can be removed without damage. Use the same procedure as for center draft flame spreader lamps, as the Perfection heater is essentially an oversize center draft lamp. It takes a larger boiling pot, but this method does work. Reader Mark H. in MA wrote: "I found if you use "PB Buster" (an automotive parts rust buster penetrating oil) sprayed around the gallery and the fill gauge it helped break up and dissolve the old gummed kerosene. It works great." George C, a reader, recommended Evapo-rust. "I took the whole wick adjuster and soaked over night. it works like a new one. If it had not been for this stuff would not have been able to salvage the heater." http://www.evapo-rust.com LEAKS: REPAIRING A LEAKING FUEL TANK It is not uncommon to find pinholes in the fuel tank on old Perfection heaters, particularly post-War steel fonts. If the holes are not too large they can be repaired. I sand the area of the leak smooth, pick at the holes with a stout sewing needle to clean debris from the holes, removed any oil from the metal with acetone, and apply a thin layer of J-B Weld epoxy over all areas that even appeared to have indentations or pits. After drying/curing, I sand the J-B Weld smooth, put the tank on a piece of newspaper, and pour in some fuel. It works! No leaks. J-B Weld epoxy can be easily applied with an artist's paint trowel, so little sanding is required. Of course all the sanding required to get to bare metal (so the epoxy will stick) removes the galvanizing, so the tank must be painted with an anti-rust type spray paint to prevent future rusting. J-B Kwik Weld works as well as the slower curing J-B Weld for this purpose. The trick to success in sealing the leak is complete cleanliness before applying the J-B Weld. The tank must be emptied, wick assembly removed, sanded or whatever to clean the entire area where the leak is, then repeatedly brushed with acetone to remove residual kerosene. A thin layer of J-B Weld pressed into the seam or over the leak with an artist's trowel, then smoothing, will seal the seam. Let dry in that position for two (2) very long days (regular J-B Weld, 12 hours for Kwik Weld). Then put enough fuel into the tank so that the fuel level is above any repairs, set it on a section of newspaper, and watch for leaks. The newspaper will tell you if there are any leaks and where they are located. Then and only then can you again empty the tank, clean and sand, and paint with a zinc based paint like Rustoleum. Leaks or stress cracks in pre-War brass Perfection fuel tanks should be soldered.
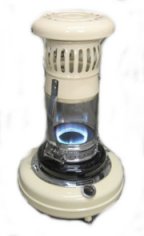
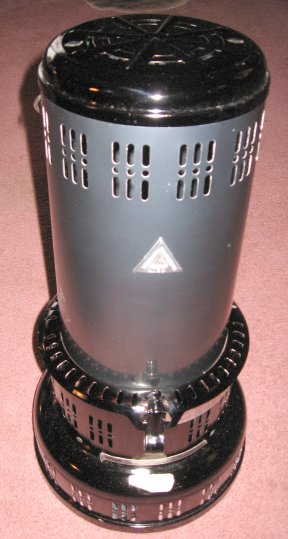
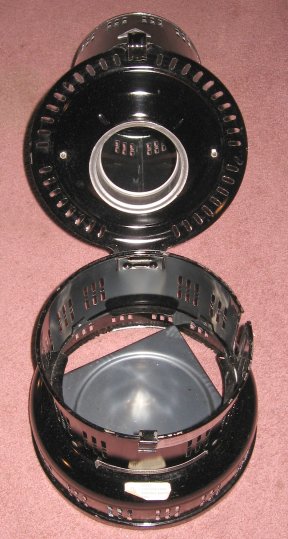
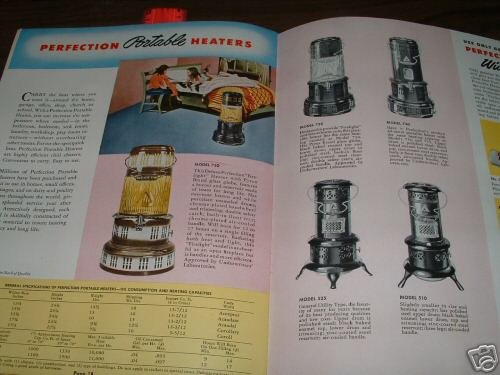
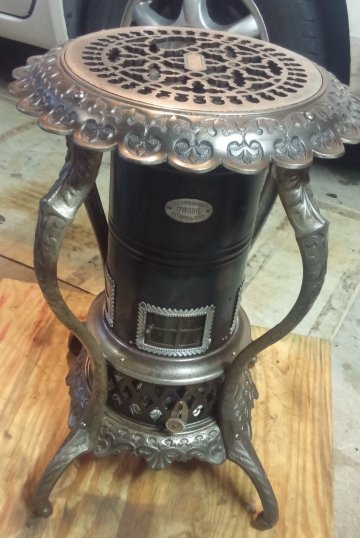
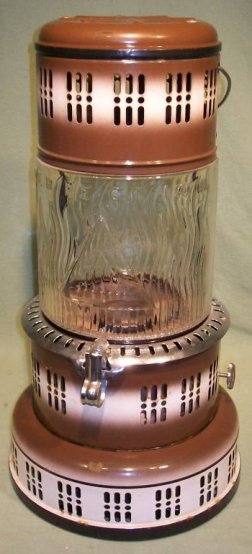
For photos of Perfection heaters, see the Photo Album. If your font has leaks, it can often be repaired.
|
PHOTOS OF BOTH TYPES
Lamps
Center Draft
Lamp
Chimneys (Photos, info and history) | ||||||||||||||||||||||||||||||||||||||||


